
Illustration 1: Launching the Imaging Configuration Screen
NOTE: The Imaging Configurations distributed with SoftRIP have been generated by the Wasatch technical staff. Although these configurations are "generic", they should provide excellent results under most conditions. These Imaging Configurations are based on optimum printer settings for the print conditions described. SoftRIP also provides several levels of additional operator color control, described in detail in the color section of online help and at www.wasatch.com.
Launch the Imaging Configurations screen from the Edit button on the Setup window (Illustration 1).
Illustration 1: Launching the Imaging Configuration Screen
The Imaging Configuration screen (Illustration 2) accesses controls for specific printer settings and color workflow controls.
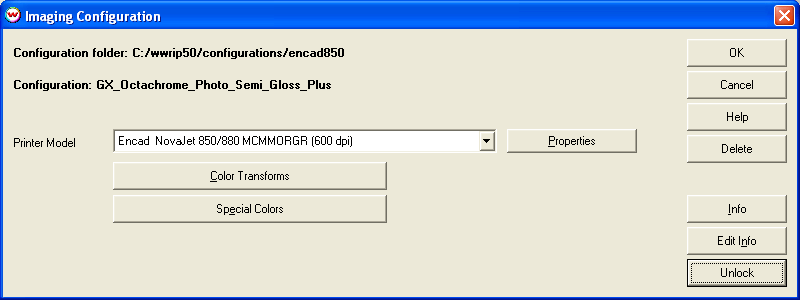
Illustration 2: The Imaging Configuration Screen
Pressing the Properties button next to the printer model name launches control panels with additional settings for the printer such as pass counts, dry time, and dot type For more information see the Printers section of online help.
Launch the Color Transforms screen by clicking on the Color Transforms button. This screen provides total workflow control for color management. More information here.
Launch the Special Colors screen by clicking the Special Colors button. This suite of utilities includes Spot Color Replacement, the Color Database, Spot Color Capture and other features described here.
The Edit Info button launches your default text editor (in this case the Info - Notepad window). Use this feature to create and save records of changes made in this screen (Illustration 3).
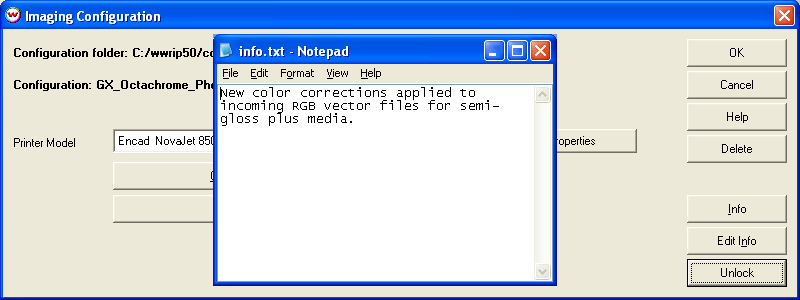
Illustration 3: Edit Info window.
Whenever you make changes to any setting that affects an Imaging Configuration, create a new Imaging Configuration by saving it under a new name. This includes changes made in the (Properties) control panels, and changes to settings made in other screens launched from Imaging Configurations (Color Transforms, Special Colors). When a change is made to any of these controls, you must exit the screen using the OK button. Changes will be lost if you exit using Cancel.
Imaging Configurations are shipped "pre-locked". You will not be able to make changes to the Configurations shipped with SoftRIP. When you modify an Imaging Configuration and rename it, you create a new Configuration that can be Locked or Unlocked.
See more at Lock Controls.
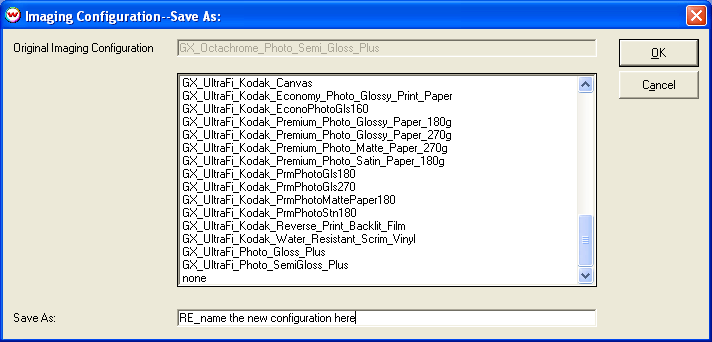
Illustration 4: Save new Imaging Configurations under new names
When you exit using the OK button, the Imaging Configuration - Save As screen is launched (Illustration 4). The name of the current Imaging Configuration is shown in the top window of this screen; previous Imaging Configuration names are shown in the larger window. In the Save As window, enter the new Imaging Configuration name. Click on OK to save the new Imaging Configuration name and settings.