SELF DOCUMENTING TEST FILE PROCESS
Self-documenting test files are a powerful way for our service department to collect accurate data on print problems in the field. They are now also an integral part of our Color Profile Assessment program as well as our procedures for producing imaging configurations in the field.
Download Now
Everyone who is completing our Color Profile Assessment program or who is responsible for producing imaging configurations must be expert in the information on this web page. Anyone who might find themselves in front of a problem in the field should also be expert.
Before reviewing this page, ensure you are expert in the use of the Wasatch Service Data Uploader, which is documented here:
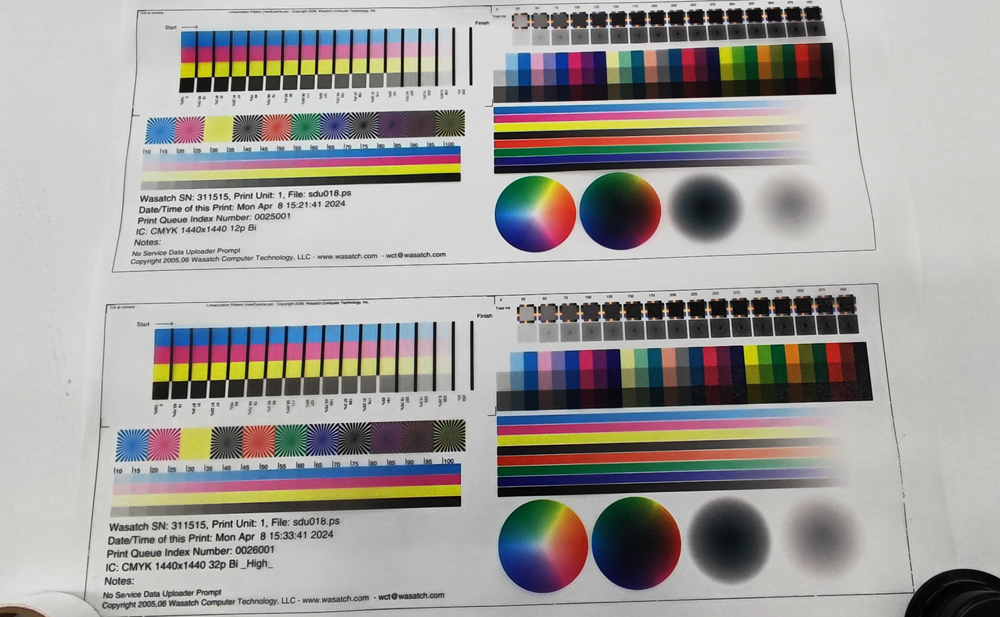
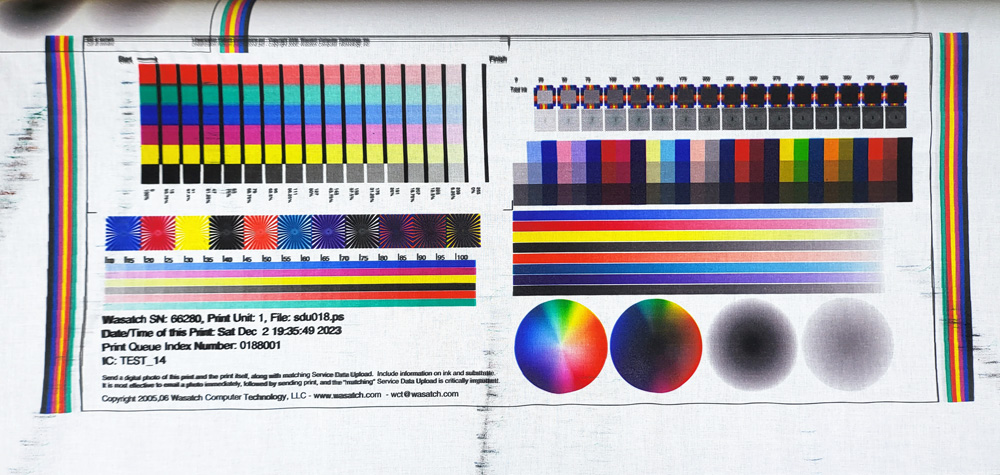
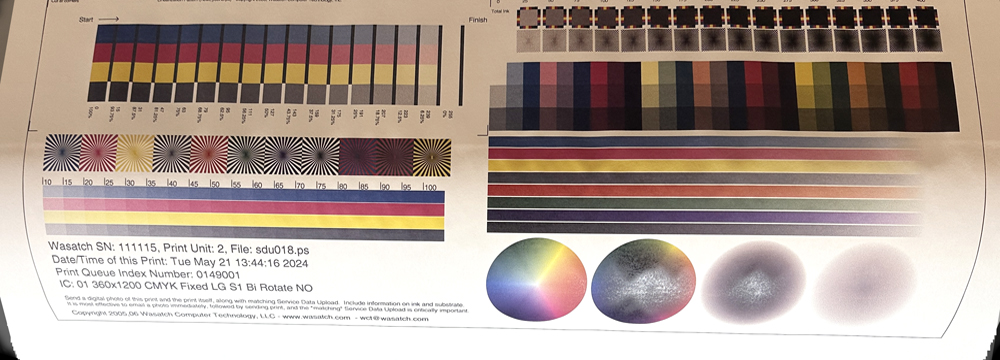
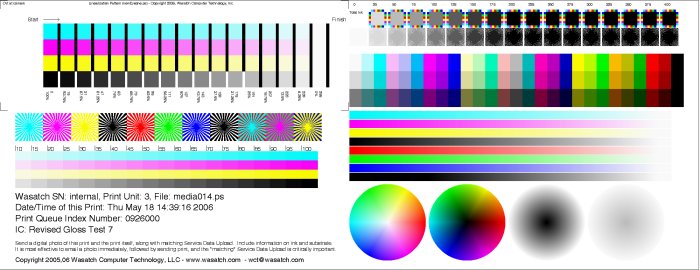
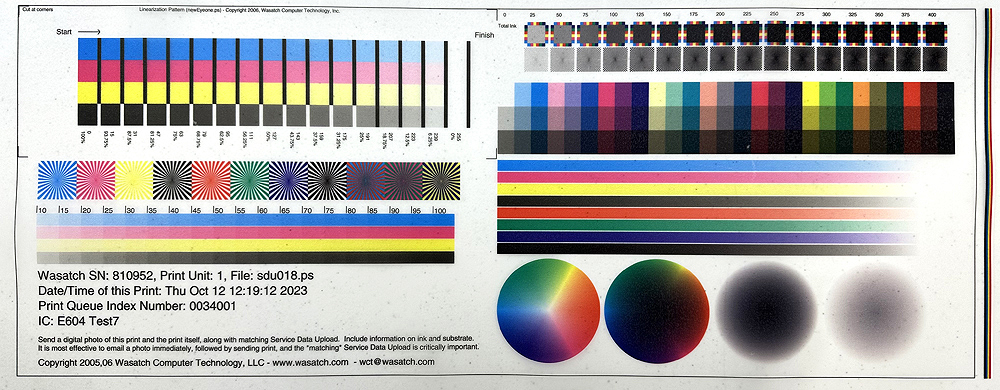
Here is one example of a Wasatch Self Documenting Test File.
This is just one example. We'll create various different test files to suit different needs. Wasatch's service team may email you a test file needed for the task at hand.
Note that besides the familiar-looking test patterns, there is some special information included in the print:
- Wasatch Serial Number
- Print Unit
- Date and Time
- Print Queue Index Number (identifies the individual print)
- IC (Imaging Configuration)
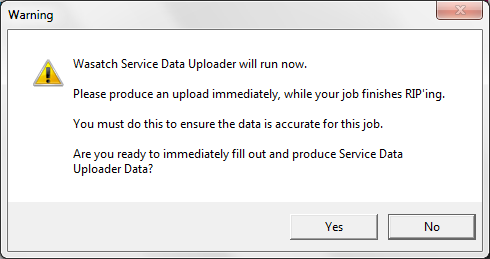
When a self-documenting test file is RIP'ed for output, the Wasatch PostScript Interpreter pauses part way through, displaying this message.
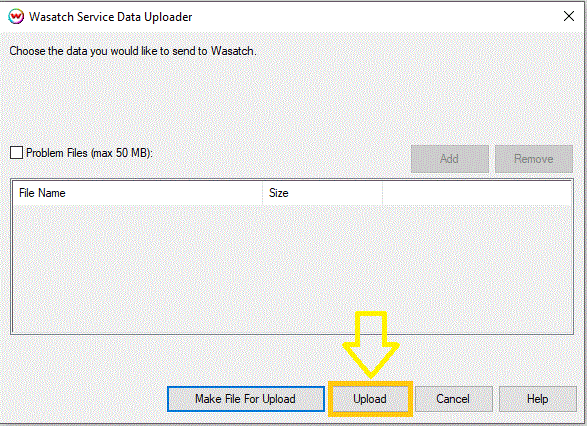
As soon as you press Yes on this window the Service Data Uploader will run. Complete the required steps and select either the Make File For Upload or the Upload button to upload the data immediately. By doing this, you will ensure that the Service Data Uploader matches all the information shown above. This ensures that the print, or photos of the print, can always be matched to the data, regardless of how they become separated when sent to Wasatch. Even if there is a delay in how these materials reach us, this information allows them to be matched up.
This makes a tremendous difference in our ability to analyze both the print and the data in the upload, in fact, without this, both the print and the upload are close to useless. They're only valuable when they can be matched to each other.
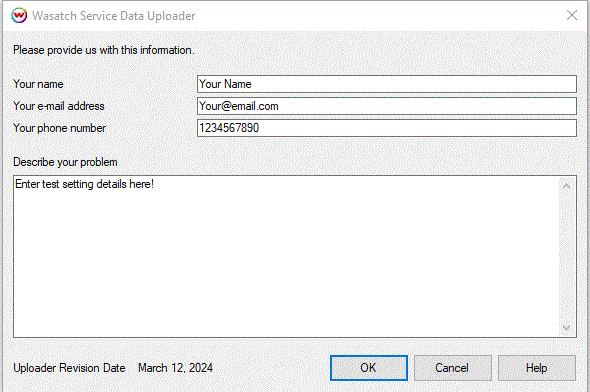
It is very important that you carefully record all names and part numbers for paper and ink in this window because there is no other way for the uploader to send us this information. Without this, the print and other data are generally useless. When this is done, pressing OK will launch the next window.
Once the print has completed, remove it from the printer and place it on a flat, well lit surface with a uniform color. Take a photo of the print, ensuring the entire print is visible and there are no shadows over the print.
- DO NOT take a picture with the print hanging off the printer.
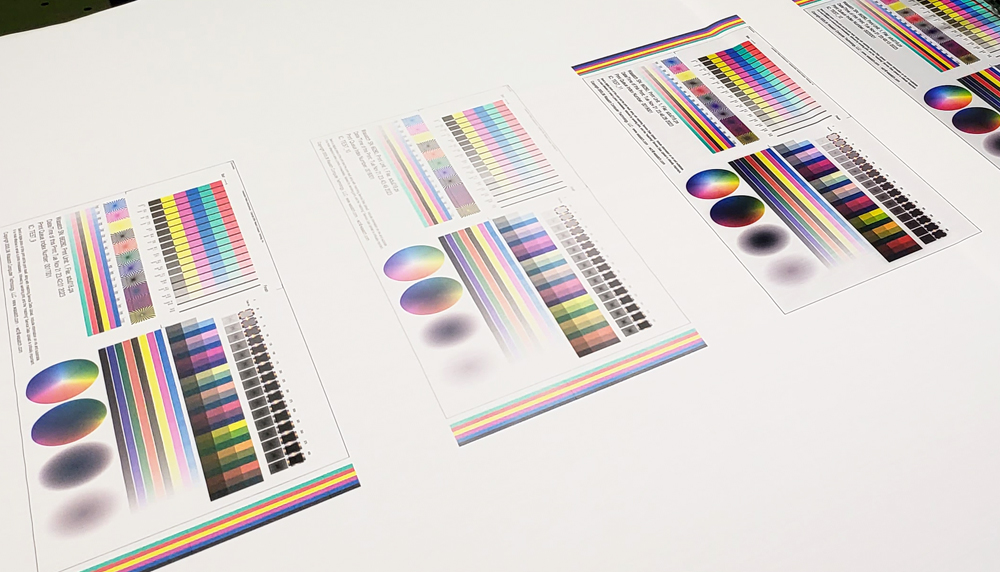
- DO NOT take a single picture with more than 1 print in it.
- DO NOT take a picture with poor lighting.
- DO NOT take a picture with the print at an angle.
